Comfort Is Survival
A good night’s rest in the outdoors isn’t just a luxury — it’s survival. Without proper shelter & sleeping gear, you lose heat faster, make poor decisions, and struggle to enjoy the adventure you came for. Building a basecamp isn’t about hauling luxury furniture — it’s about striking a balance between outdoor furniture & shelter, warmth, and smart packing.
Here’s your step-by-step guidebook to building a reliable, comfortable basecamp in any condition.
Step 1 — Choose the Right Location
- Look for elevation: Avoid valleys where cold air settles and rain collects.
- Check drainage: Flat ground that doesn’t pool water is ideal.
- Wind protection: Trees or natural barriers provide a shield from gusts.
- Safety first: Stay clear of widowmakers (dead branches) and animal trails.
Pro Tip: South-facing slopes get more sun and stay warmer in cooler months.
Step 2 — Set Up Shelter First
Your tent or tarp is priority #1.
- Pitch your tent before unpacking anything else.
- Face doors away from the prevailing wind.
- Use guy lines to secure against unexpected weather shifts.
Bonus: For hammock campers, always pack a rainfly and underquilt for insulation.
Step 3 — Build Ground Comfort & Protection
Even the best sleeping bag won’t save you from heat loss to the ground. A quality mat or groundsheet is essential.
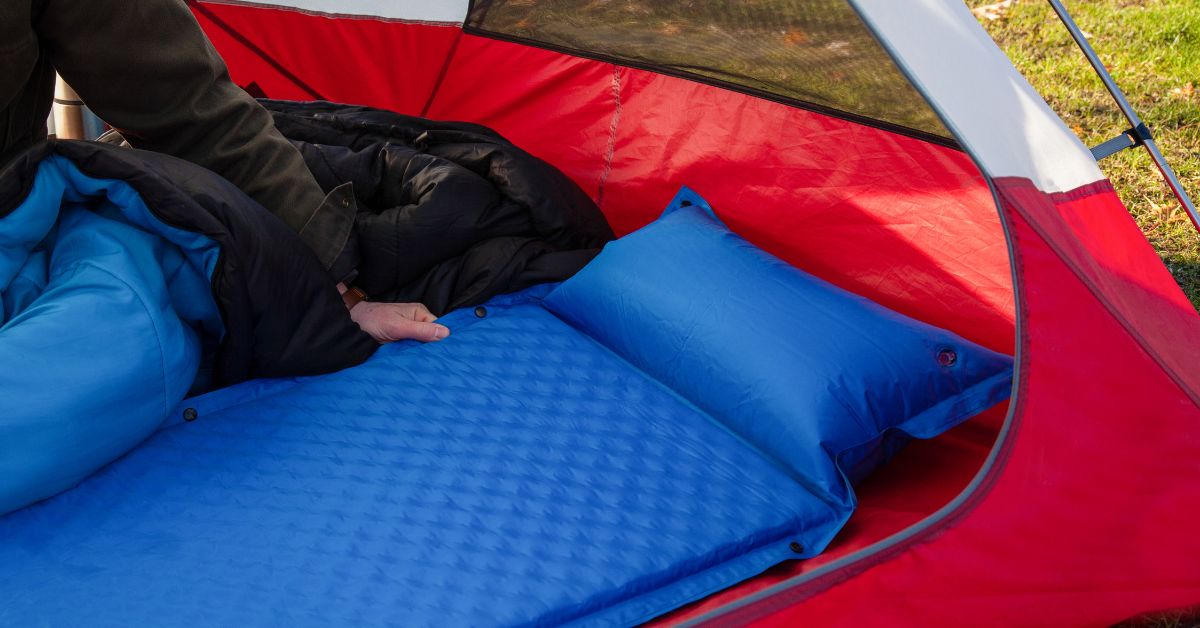
The Waterproof Camping Mat provides insulation, ground protection, and comfort. It keeps you dry in damp conditions, prevents heat loss, and creates a stable base for sleeping bags or pads. Lightweight and packable, it’s the perfect foundation for any shelter & sleeping gear setup.
Step 4 — Layer Sleeping Gear for Warmth
- Sleeping bag: Match the temperature rating to your trip. (Summer = 40°F+, Winter = 20°F or lower.)
- Sleeping pad: Adds insulation and comfort.
- Blanket or liner: Adds warmth without bulk.
- Pillow hack: Stuff a dry bag with clothing for head support.
Pro Tip: Keep your sleeping bag in a compression sack to save space in your backpacks & bags.
Step 5 — Create a Functional Camp Layout
Comfort is also about flow:
- Cooking zone: Keep it downwind and 200 feet from your sleeping area.
- Fire pit: Position safely away from the tent, with a cleared radius.
- Gear storage: Use a tarp, dry bag, or vestibule to keep gear organized and dry.
- Relax zone: If space allows, add compact outdoor furniture & shelter items like foldable chairs.
Step 6 — Plan for Lighting & Power
- Use a headlamp for personal light.
- Lanterns for common areas.
- Solar chargers or power banks to keep devices running.
Combine lighting & power solutions to avoid battery anxiety.
Step 7 — Weatherproof Your Basecamp
- Always stake down guy lines tightly.
- Store food in a bear-proof container or tree hang.
- Keep critical survival kits & essentials inside your tent or dry bag.
- Recheck camp security each night before bed.
Rest Smart, Adventure Better
Your basecamp is your sanctuary. When set up correctly, it restores your energy, protects you from the elements, and makes every trip more enjoyable.
Start with smart shelter choices, insulate your ground with the Waterproof Camping Mat, and layer your sleeping system for warmth. Add thoughtful camp organization, lighting, and weatherproofing — and you’ll build a camp that’s ready for any condition.
Explore more Shelter & Sleeping Gear, Outdoor Furniture, and Camping Equipment at PackAndCamp.com to make every night outdoors a good one.


0 Comments